There’s something absolutely irresistible about homemade caramel popcorn—that perfect combination of crunchy, buttery, sweet, and slightly salty that makes it impossible to stop eating. I still remember the first time I made caramel popcorn from scratch instead of buying those pre-packaged tins. The difference was mind-blowing! The caramel was richer, the popcorn crunchier, and every bite was coated in that gorgeous golden sweetness.
What surprised me most was how easy it actually is to make. I always thought caramel popcorn required some kind of candy-making expertise, but it turns out you just need about 45 minutes and ingredients you probably already have in your pantry. Now I make batches for movie nights, holiday gifts, and whenever I need a seriously addictive snack.
Table of Contents
What Makes This Recipe Special?
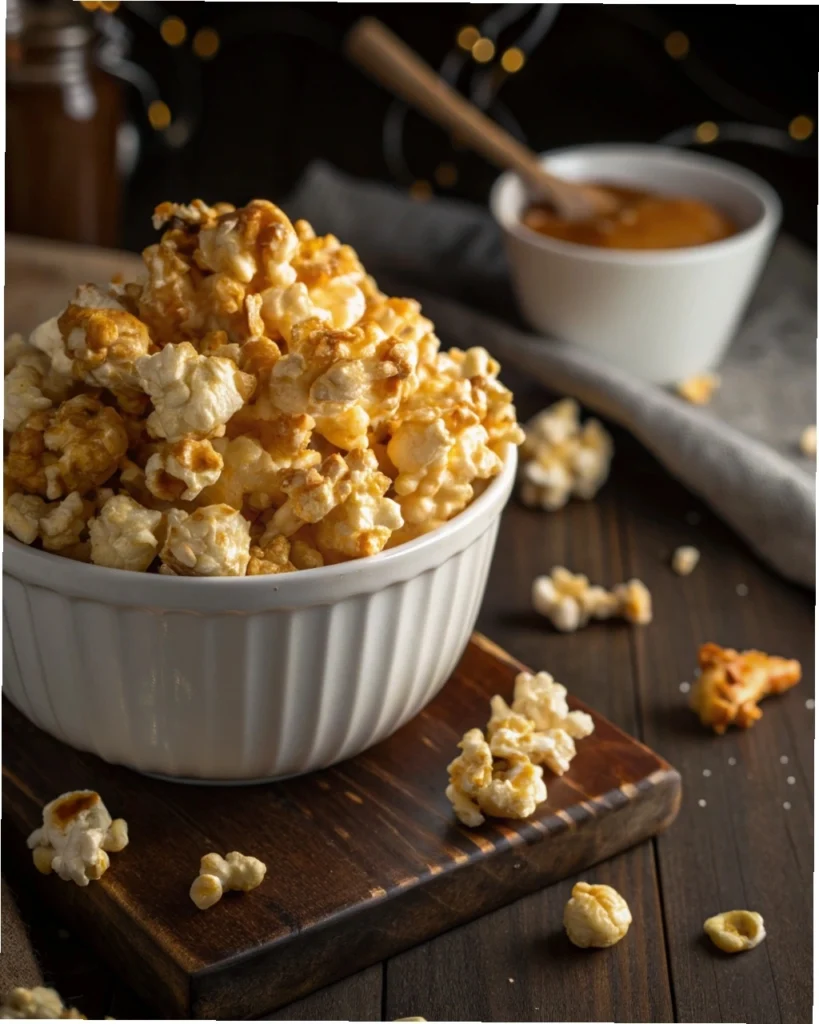
This easy caramel popcorn recipe creates perfectly crispy, evenly coated popcorn with a buttery caramel that doesn’t get sticky or chewy. The secret is baking the popcorn after coating it with caramel—this step transforms it from sticky and clumpy to perfectly crispy and separated.
Unlike store-bought versions that can taste artificial or overly sweet, this homemade caramel corn has a rich, buttery flavor with just the right amount of sweetness and a hint of salt. It’s the kind of snack that disappears in minutes at parties, makes impressive homemade gifts, and satisfies every sweet and salty craving.
Why Make Caramel Popcorn from Scratch?
Before we dive into the recipe, let me convince you why homemade is worth it:
- Superior taste – Fresh, buttery caramel beats artificial flavoring every time
- Crunchier texture – No soggy or chewy pieces
- Control ingredients – No corn syrup, preservatives, or weird additives
- Customizable – Add nuts, chocolate, spices, or keep it classic
- Impressive gifts – Package it in mason jars or decorative bags
- Cost-effective – A huge batch costs less than small store-bought bags
- Fun to make – Great activity with kids (with supervision)
- Always fresh – No stale popcorn from sitting on shelves
Ingredients You’ll Need
For the Popcorn:
- 1 cup (200g) popcorn kernels (makes about 20 cups popped)
- OR 20 cups pre-popped plain popcorn
- Vegetable oil or coconut oil for popping (if using kernels)
For the Caramel Coating:
- 1 cup (225g) unsalted butter
- 2 cups (400g) light brown sugar, packed
- ½ cup (120ml) light corn syrup or golden syrup
- 1 teaspoon salt
- 1 teaspoon vanilla extract
- ½ teaspoon baking soda
Optional Add-Ins:
- 2 cups roasted peanuts, pecans, or almonds
- 1 cup chocolate chips (drizzled after baking)
- ½ teaspoon cinnamon for spiced version
- Flaky sea salt for finishing
Equipment Needed:
- Large pot with lid (for popping) or air popper
- Large roasting pan or two 9×13-inch baking sheets
- Medium heavy-bottomed saucepan
- Wooden spoon or heat-resistant spatula
- Candy thermometer (optional but helpful)
- Parchment paper or silicone baking mats
Step-by-Step Instructions
Step 1: Pop Your Popcorn
Stovetop Method (Recommended for best flavor):
- Heat 3 tablespoons of vegetable or coconut oil in a large pot over medium-high heat
- Add 3-4 popcorn kernels and cover
- When those kernels pop, add the remaining 1 cup of kernels
- Cover and shake the pot occasionally to prevent burning
- When popping slows to 2-3 seconds between pops, remove from heat
- Transfer to a very large bowl or roasting pan
Air Popper Method: Follow your air popper’s instructions to pop 1 cup of kernels.
Pro tip: Remove any unpopped kernels—they can break teeth and interfere with even caramel coating!
Place your popped corn in a large roasting pan or spread across two large baking sheets lined with parchment paper. If you’re adding nuts, mix them in now. Preheat your oven to 250°F (120°C).
Step 2: Make the Caramel
This is where the magic happens! In a medium, heavy-bottomed saucepan, combine:
- Butter
- Brown sugar
- Corn syrup
- Salt
Place over medium heat and stir constantly until the butter melts and sugar dissolves. This takes about 3-4 minutes. Don’t rush this step—you want everything fully combined.
Once melted and smooth, stop stirring and let the mixture come to a boil. Allow it to boil without stirring for exactly 4-5 minutes. You’re looking for the mixture to reach 240°F (115°C) on a candy thermometer, or until it turns a deep amber color and thickens noticeably.
Important: Don’t stir while it’s boiling! Stirring can cause crystallization and make your caramel grainy.
Step 3: Add Vanilla and Baking Soda
Remove the saucepan from heat. Working quickly and carefully (it will bubble up!), stir in:
- Vanilla extract
- Baking soda
The baking soda will cause the caramel to foam and expand—this is normal! It also makes the caramel lighter and crunchier once baked. Stir vigorously for about 10 seconds until well combined.
Safety note: The caramel is extremely hot—around 240°F. Be very careful and keep kids at a safe distance during this step.
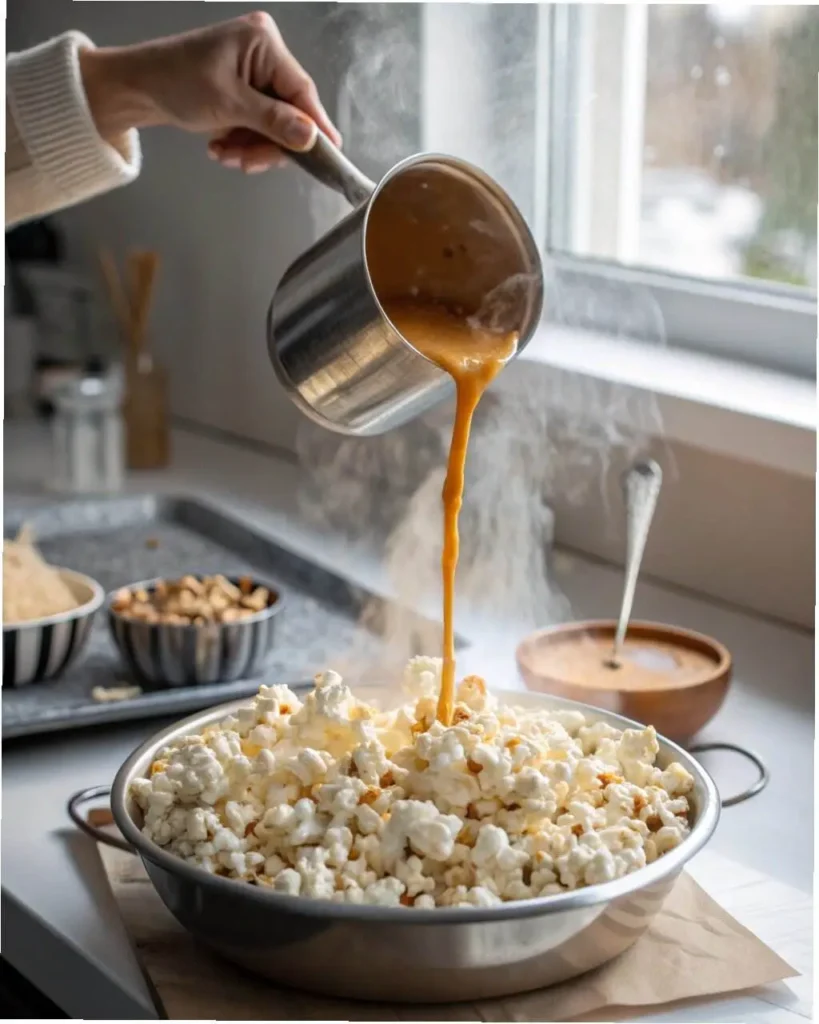
Step 4: Coat the Popcorn
Immediately pour the hot caramel over your popped corn. Using a heat-resistant spatula or wooden spoon, quickly fold and toss the popcorn to coat it as evenly as possible. Work fast—the caramel starts to set quickly!
Don’t worry if it’s not perfectly even at this stage. You’ll be stirring it more during baking. Just try to get most of the popcorn coated with some caramel.
Pro tip: Spray your spatula with cooking spray before mixing—this prevents the caramel from sticking to your utensil.
Step 5: Bake to Perfection
Place the pan(s) in your preheated 250°F (120°C) oven. Bake for 1 hour total, stirring every 15 minutes. This is crucial for even coating and achieving that signature crunch!
Stirring schedule:
- After 15 minutes: First stir
- After 30 minutes: Second stir
- After 45 minutes: Third stir
- After 60 minutes: Remove from oven
Each time you stir, use a large spoon or spatula to turn the popcorn from bottom to top, breaking up any large clumps. As it bakes, the caramel will dry out and become crispy instead of sticky.
What you’ll notice: The caramel will look wet and sticky after the first 15-30 minutes, but by 45-60 minutes, it will look dry and the popcorn will separate easily.
Step 6: Cool and Break Apart
Remove the pan from the oven and immediately pour the caramel popcorn onto parchment paper or silicone mats spread on your counter. Don’t leave it in the hot pan or it will continue cooking.
Let it cool for about 10-15 minutes. It will still be slightly warm and pliable. As it cools completely (another 10-15 minutes), it will become crispy and crunchy.
Once cool, break apart any large clusters into bite-sized pieces. Some clumps are inevitable and actually desirable—those are the best pieces!
Optional finishing touch: Sprinkle with flaky sea salt while still slightly warm for a gourmet sweet-and-salty finish.
Storage Guidelines
Airtight Container:
- Store in an airtight container or zip-top bags
- Keeps fresh and crunchy for up to 2 weeks
- Store at room temperature (do NOT refrigerate—it will get sticky)
- Keep away from humidity
Gift Packaging:
- Mason jars tied with ribbon
- Cellophane bags with twist ties
- Decorative tins lined with parchment
- Label with “consume within 2 weeks”
Pro tip: Add a small silica gel packet (like the ones that come in shoe boxes) to your container to absorb any moisture and keep the popcorn extra crispy.
Can you freeze it? Yes! Freeze in airtight containers for up to 3 months. Thaw at room temperature and it will still be crispy.
Delicious Variations
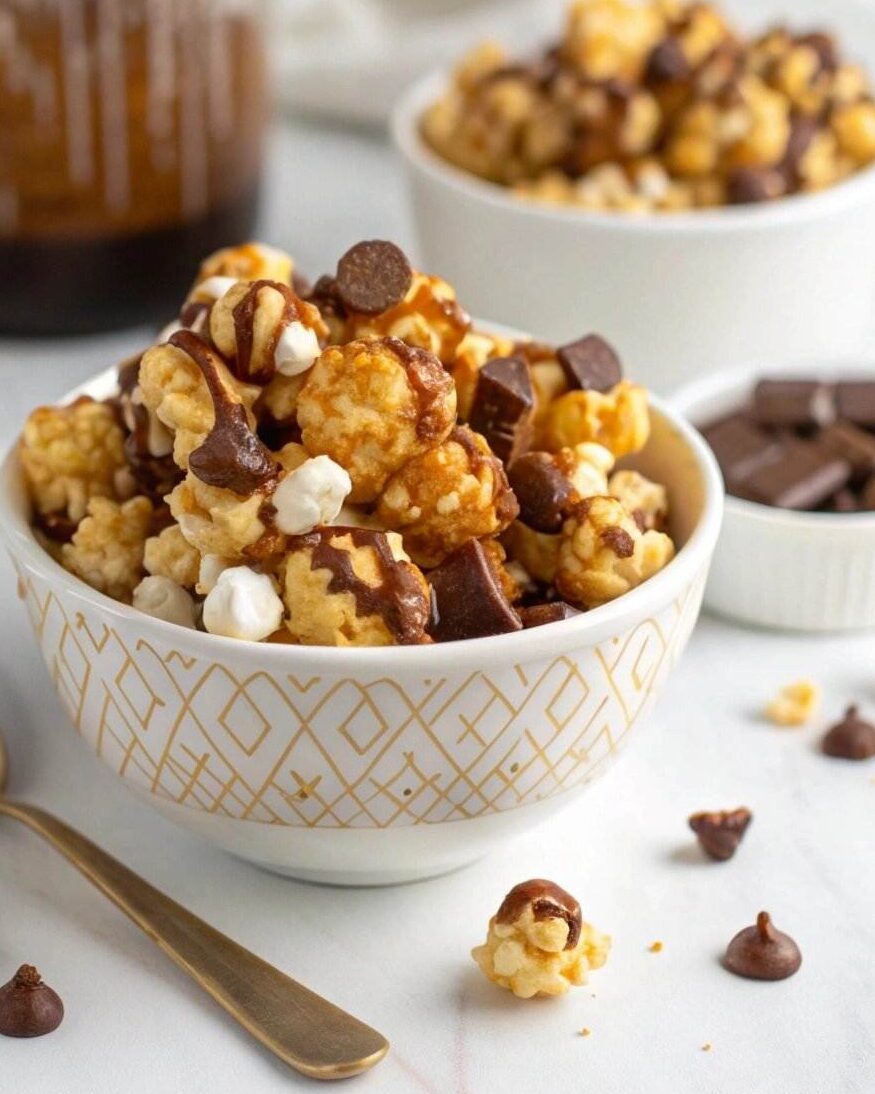
Chocolate Caramel Popcorn
After the caramel corn has completely cooled, melt 1 cup of chocolate chips (milk, dark, or white) and drizzle over the popcorn. Let the chocolate set before serving or storing.
Peanut Butter Caramel Corn
Add ½ cup creamy peanut butter to the caramel mixture right after removing from heat, before adding vanilla and baking soda. Stir until smooth.
Spiced Caramel Popcorn
Add 1 teaspoon cinnamon, ½ teaspoon ginger, and ¼ teaspoon nutmeg to the caramel mixture. Perfect for fall and winter!
Maple Pecan Caramel Corn
Replace ½ cup of the corn syrup with pure maple syrup. Add 2 cups of toasted pecans. Increase salt to 1½ teaspoons for the perfect sweet-salty balance.
Birthday Cake Caramel Popcorn
Add 1 teaspoon clear vanilla extract and ½ teaspoon almond extract to the caramel. After cooling, drizzle with white chocolate and top with rainbow sprinkles.
Bacon Caramel Popcorn
Cook 8 strips of bacon until crispy, crumble, and mix into the popcorn before adding caramel. The sweet and savory combination is incredible!
S’mores Caramel Popcorn
Add 1 cup mini marshmallows and ½ cup crushed graham crackers during the last 5 minutes of baking. Drizzle with melted chocolate when cool.
Coconut Caramel Corn
Add 1 cup toasted coconut flakes and 1 teaspoon coconut extract to the caramel. Perfect for tropical flavor lovers!
Creative Serving Ideas
For Parties:
- Serve in individual paper cones for easy handling
- Create a popcorn bar with different flavors
- Package in small bags as party favors
- Serve in popcorn boxes for movie night theme
For Gifts:
- Layer in mason jars with decorative labels
- Fill cellophane bags tied with seasonal ribbons
- Create gift baskets with different flavored batches
- Package in decorative tins for holidays
For Special Occasions:
- Add colored sprinkles for birthdays
- Use red and green for Christmas
- Add candy corn for Halloween
- Use pink and red M&Ms for Valentine’s Day
Dessert Ideas:
- Top ice cream sundaes
- Crush and use as a pie crust
- Mix into cookie dough
- Create popcorn balls by pressing warm caramel corn into spheres
Why This Recipe Works So Well
This recipe has been perfected over countless batches, and here’s why it produces the best results:
- The brown sugar creates a richer, more complex caramel flavor than white sugar
- Corn syrup prevents crystallization for smooth, glossy caramel
- Baking soda creates tiny air bubbles that make the coating lighter and crunchier
- Low oven temperature dries the caramel without burning it
- Stirring every 15 minutes ensures even coating and prevents clumping
- The salt balances sweetness and enhances all the flavors
The key difference between sticky popcorn and crunchy caramel corn is that hour in the oven. It seems long, but that’s what transforms the coating from chewy to crispy perfection.
Frequently Asked Questions
Can I use microwave popcorn?
You can, but plain microwave popcorn without butter or flavoring works best. The added butter and salt in pre-flavored microwave popcorn can throw off the recipe’s balance. Air-popped or stovetop popped is always best.
Why did my caramel popcorn turn out sticky instead of crunchy?
This usually happens if you didn’t bake it long enough or didn’t stir it regularly. Make sure to bake for the full hour, stirring every 15 minutes. Also, humidity can affect crispness—make sure it’s stored in an airtight container immediately after cooling.
Can I make this without corn syrup?
Yes! You can substitute honey, golden syrup, or maple syrup for the corn syrup. The texture will be slightly different (a bit chewier) but still delicious. Some people use all brown sugar and no corn syrup, but the caramel is more likely to crystallize.
My caramel turned grainy. What happened?
Crystallization occurred, usually from stirring the caramel while it was boiling or from sugar crystals on the sides of the pan. Next time, don’t stir once it starts boiling, and brush down the sides of the pan with a wet pastry brush if you see crystals forming.
Can I make this without a candy thermometer?
Absolutely! The visual and time cues work well. Boil for 4-5 minutes until it turns deep amber and has thickened significantly. You can also test it by dropping a small amount into cold water—it should form a soft ball.
How do I prevent burning?
Use medium heat when making the caramel (not high), use a heavy-bottomed saucepan for even heat distribution, and watch it carefully during the boiling phase. For baking, 250°F is the perfect temperature—don’t go higher.
Can I double this recipe?
Yes, but you’ll need a very large roasting pan or multiple baking sheets. The caramel recipe doubles perfectly. Just make sure you have enough oven space to bake it all at once for even results.
Why do I need baking soda?
Baking soda reacts with the acid in the brown sugar to create tiny air bubbles, making the caramel lighter, crispier, and easier to bite through. Without it, the coating would be much harder and denser.
Troubleshooting Common Issues
Problem: Caramel is too hard/difficult to bite
- Solution: Reduce cooking time by 1 minute next time, or add 1-2 extra tablespoons of butter
Problem: Popcorn is unevenly coated
- Solution: Work faster when coating, make sure caramel is fully liquid when pouring, stir more frequently during baking
Problem: Caramel separated or looks greasy
- Solution: The butter separated. Next time, make sure to stir constantly while melting butter and sugar together
Problem: Too sweet
- Solution: Increase salt to 1½ teaspoons and sprinkle with flaky sea salt after baking
Problem: Burned bottom
- Solution: Your oven runs hot. Reduce temperature to 225°F and check/stir more frequently
Final Thoughts
Making homemade caramel popcorn has become one of my favorite kitchen activities. There’s something so satisfying about transforming simple popcorn kernels into this glossy, golden, addictive treat. The best part? Your house will smell absolutely incredible while it’s baking—that buttery, caramelized sugar scent is better than any candle!
This recipe is perfect for so many occasions: movie nights, holiday gifts, game day snacks, bake sales, or just when you need something sweet and crunchy. I’ve made it countless times and it never fails to disappear within hours. Fair warning: it’s dangerously addictive, and you’ll find yourself returning to the container “just one more handful” over and over again.
The hour of baking time is mostly hands-off (just quick stirs every 15 minutes), so you can multitask while it’s in the oven. Once you master the basic recipe, feel free to experiment with the variations—each one is delicious in its own way.
So grab your largest pot, stock up on popcorn kernels, and get ready to make the best caramel popcorn you’ve ever tasted. Your friends and family will be begging for the recipe!
Happy popping, and welcome to the homemade caramel corn club! 🍿✨
Yield: About 20 cups (16-20 servings)
Prep Time: 15 minutes
Cook Time: 1 hour 10 minutes
Total Time: 1 hour 25 minutes
Difficulty: Easy
Storage: 2 weeks at room temperature in airtight container