
There’s something magical about the smell of apples simmering on the stove with cinnamon and a hint of sugar. When I first learned to make homemade applesauce from my friend Sarah, I couldn’t believe how simple it was—and how much better it tasted than anything from a jar. Sarah grew up helping her grandmother make applesauce every fall, and she passed down this foolproof recipe that’s been delighting families for generations.
I still remember the first batch I made on my own. The kitchen filled with the most incredible apple-cinnamon aroma, and when I tasted that first warm spoonful, I was hooked. No preservatives, no weird ingredients, just pure apple goodness. The best part? You only need about 30 minutes and a handful of ingredients to make something truly special.
Table of Contents
What Makes Sarah’s Recipe Special?
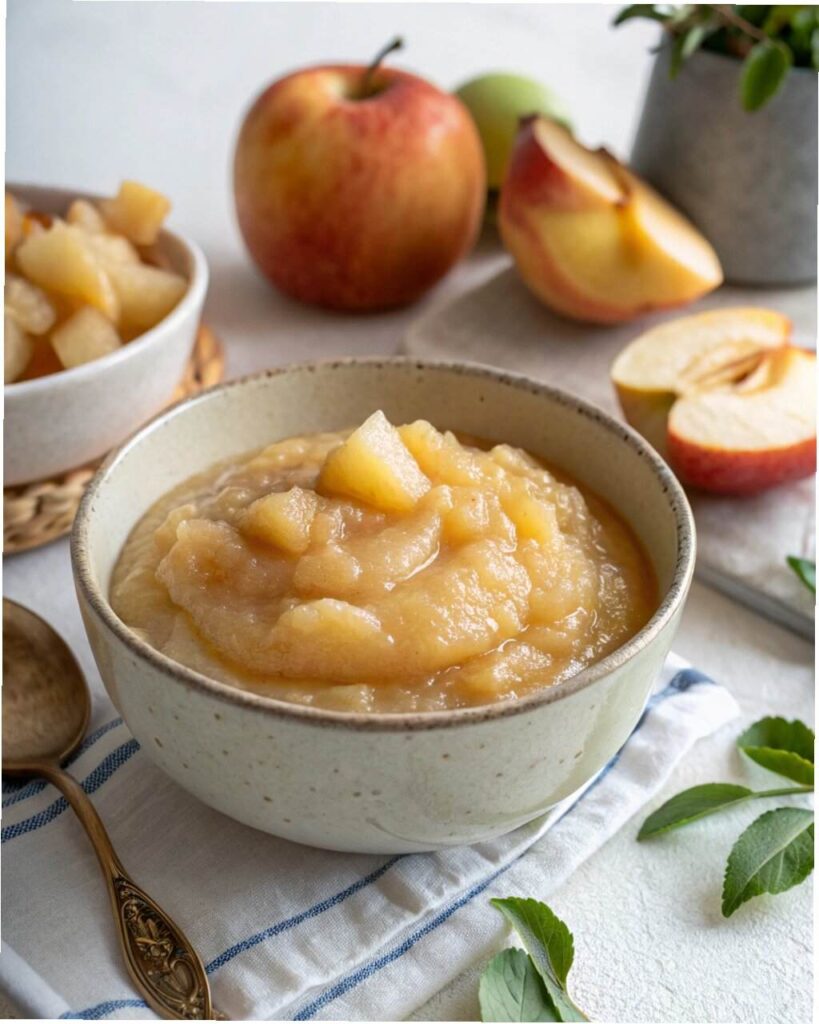
Sarah’s homemade applesauce is the perfect balance of sweet and tart, with just enough cinnamon to make it feel like fall in a bowl. Unlike store-bought versions that can taste flat or overly sweet, this recipe lets the natural apple flavor shine through while adding just enough enhancement to make it irresistible.
The beauty of this easy homemade applesauce is its versatility. You can make it smooth or chunky, sweet or tart, with or without spices. It’s perfect as a snack, a side dish for pork chops, a topping for pancakes, or even as a substitute for oil in baking. Once you try homemade, you’ll never go back to store-bought!
Why Make Applesauce from Scratch?
Before we dive into the recipe, let me convince you why making homemade applesauce is worth your time:
- Better taste – Fresh apples taste infinitely better than processed ones
- Control over sweetness – Adjust sugar to your preference
- No preservatives – You know exactly what’s in it
- Cost-effective – Especially when apples are in season
- Uses up old apples – Perfect for slightly bruised or overripe apples
- Easy to customize – Add spices, honey, or keep it plain
- Great for canning – Make large batches to enjoy year-round
- Kid-friendly – Children love helping and eating it
Ingredients You’ll Need
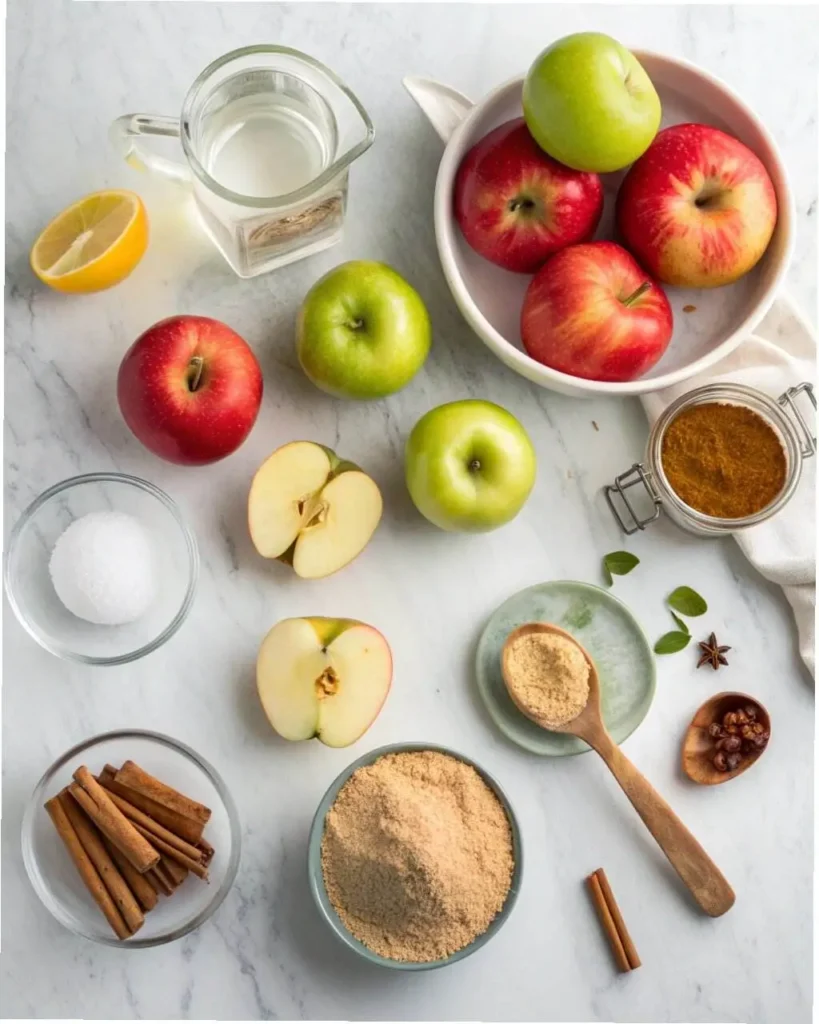
For the Basic Applesauce:
- 6 pounds (about 12-14 medium) apples, peeled, cored, and chopped
- ¾ cup (180ml) water or apple juice
- ½ cup (100g) granulated sugar (adjust to taste)
- 2 tablespoons fresh lemon juice
- 1 teaspoon ground cinnamon
- ¼ teaspoon ground nutmeg (optional)
- Pinch of salt
Best Apples for Applesauce:
Sarah’s secret is using a mix of apple varieties for the best flavor:
For sweetness:
- Gala
- Fuji
- Honeycrisp
- Golden Delicious
For tartness:
- Granny Smith
- McIntosh
- Braeburn
- Jonathan
Sarah’s favorite combo: 50% sweet apples + 50% tart apples (like 6 Gala + 6 Granny Smith)
Equipment Needed:
- Large heavy-bottomed pot or Dutch oven
- Vegetable peeler
- Apple corer (optional but helpful)
- Potato masher or immersion blender
- Large spoon for stirring
- Storage containers or jars
Step-by-Step Instructions
Step 1: Prepare Your Apples
Start by washing all your apples thoroughly under cold water. This is important even if you’re peeling them—you don’t want to transfer any dirt or residue from the skin to the flesh while cutting.
Peel the apples using a vegetable peeler or paring knife. Sarah always says, “The peels add fiber, but they also add a bit of bitterness and can make the texture grainy, so I always remove them for the smoothest sauce.”
Core and chop the apples into roughly 1-2 inch chunks. They don’t need to be perfect—they’ll break down during cooking. As you work, place the chopped apples in a large bowl with a splash of lemon juice to prevent browning. This is especially helpful if you’re working with a large batch.
Pro tip: Save your apple peels and cores! You can simmer them with water to make homemade apple juice or pectin for jam-making. Zero waste!
Step 2: Start Cooking
Place your chopped apples in a large, heavy-bottomed pot or Dutch oven. Add the water (or apple juice for extra apple flavor), lemon juice, and a pinch of salt. The liquid prevents sticking and helps create steam to soften the apples.
Sarah’s tip: “Don’t add the sugar yet! Wait until the apples have softened. This way, you can taste and adjust the sweetness based on how sweet or tart your apples turned out.”
Bring the mixture to a boil over medium-high heat, stirring occasionally. Once it reaches a boil, reduce the heat to medium-low and cover the pot, leaving the lid slightly ajar to allow steam to escape.
Step 3: Simmer Until Tender
Let the apples simmer for 15-20 minutes, stirring occasionally to prevent sticking. You’ll know they’re ready when the apples are completely soft and starting to break down on their own. A fork should easily pierce through the chunks with no resistance.
The cooking time can vary depending on the type of apples you use and how small you cut them. Softer varieties like McIntosh will break down faster (around 15 minutes), while firmer apples like Granny Smith might take the full 20 minutes or slightly longer.
Visual cue: The apples should look mushy and have lost their distinct chunk shape. The mixture will be bubbling gently and smell absolutely amazing!
Step 4: Mash or Blend
Now comes the fun part—deciding on your texture! Remove the pot from heat.
For chunky applesauce (Sarah’s personal favorite): Use a potato masher to mash the apples to your desired consistency. Press down and twist, leaving some small chunks for texture. This takes about 2-3 minutes of mashing.
For smooth applesauce: Use an immersion blender directly in the pot and blend until completely smooth. Alternatively, transfer the cooked apples to a regular blender or food processor (in batches if needed) and puree until smooth. Be careful—hot liquids expand when blended!
Pro tip: Start with chunky and you can always blend more, but you can’t add chunks back once it’s smooth!
Step 5: Add Sweetener and Spices
Now taste your applesauce before adding sugar. Depending on how sweet your apples were, you might need more or less than the recipe calls for. Sarah always says, “Taste, then adjust. Every batch is different!”
Stir in the sugar, cinnamon, and nutmeg (if using). Return the pot to low heat for 2-3 minutes, stirring constantly, just until the sugar dissolves completely. This helps the spices bloom and distribute evenly throughout the sauce.
Taste again and adjust:
- Too tart? Add more sugar, 1 tablespoon at a time
- Too sweet? Add a squeeze more lemon juice
- Want more spice? Add a pinch more cinnamon
- Too thick? Stir in a little water or apple juice
Step 6: Cool and Store
Remove from heat and let the applesauce cool for about 15-20 minutes at room temperature, stirring occasionally. As it cools, it will thicken slightly.
Transfer to clean glass jars or airtight containers. Sarah prefers wide-mouth mason jars because they’re easy to scoop from and look pretty in the fridge!
Storage Guidelines
Refrigerator:
- Store in airtight containers or jars
- Keeps fresh for 7-10 days
- Always use clean utensils when scooping to prevent contamination
Freezer:
- Use freezer-safe containers, leaving 1 inch headspace for expansion
- Label with date
- Keeps for up to 6 months
- Thaw overnight in refrigerator
- Texture may be slightly more liquid after thawing (just stir well)
Canning for Long-Term Storage: If you want to preserve your applesauce for months, you can process it using a water bath canner:
- Sterilize canning jars and lids
- Fill hot jars with hot applesauce, leaving ½ inch headspace
- Remove air bubbles and wipe rims clean
- Process in boiling water bath for 20 minutes (pints or quarts)
- Sealed jars keep for up to 1 year in a cool, dark place
Delicious Variations
Cinnamon Apple Spice Sauce
Double the cinnamon to 2 teaspoons and add:
- ½ teaspoon ground ginger
- ¼ teaspoon ground cloves
- ¼ teaspoon allspice This version is perfect for fall baking!
Honey-Sweetened Applesauce
Replace the granulated sugar with ⅓ cup honey. Add the honey at the end of cooking (heat destroys some beneficial properties). This creates a more complex, floral sweetness.
Maple Applesauce
Use ⅓ cup pure maple syrup instead of sugar. This pairs beautifully with pork dishes and adds a deep, rich sweetness.
Vanilla Bean Applesauce
Add 1 vanilla bean (split and seeds scraped) or 2 teaspoons vanilla extract to the cooking apples. The vanilla adds an elegant depth that makes this feel extra special.
Apple Butter
For a more concentrated, spread-like consistency, continue cooking your finished applesauce uncovered over low heat for another 1-2 hours, stirring frequently, until it’s thick and dark. Add extra spices like cloves and allspice.
Unsweetened Applesauce
Simply omit the sugar entirely! This is perfect for babies, people watching sugar intake, or for using in baking recipes. The natural apple sweetness shines through.
Berry-Apple Sauce
Add 1-2 cups of fresh or frozen berries (strawberries, blueberries, or raspberries) during the last 5 minutes of cooking. This creates a beautiful pink color and adds extra nutrition.
Tropical Apple Sauce
Add ½ cup crushed pineapple and substitute coconut sugar for white sugar. Reduce cinnamon to ½ teaspoon. It’s like a tropical vacation in a bowl!
Creative Ways to Use Homemade Applesauce
For Breakfast:
- Top oatmeal or yogurt
- Mix into pancake or waffle batter
- Spread on toast with peanut butter
- Swirl into morning smoothies
For Baking:
- Replace oil in muffins, cakes, and brownies (1:1 ratio)
- Mix into coffee cake batter
- Use as a layer in apple crumb bars
- Add moisture to banana bread
For Savory Dishes:
- Classic side for pork chops or roast pork
- Mix into coleslaw for sweetness
- Glaze for grilled chicken
- Base for BBQ sauce
For Snacks:
- Eat warm with a sprinkle of granola
- Freeze in ice cube trays for teething babies
- Mix with cottage cheese
- Dip for graham crackers
For Desserts:
- Top vanilla ice cream
- Fill crepes or blintzes
- Layer in parfaits
- Mix into rice pudding
Why This Recipe Works So Well
Sarah’s recipe has been perfected over decades of apple sauce-making. Here’s why it works:
- The apple variety mix creates complex flavor—not too sweet, not too tart
- Low and slow cooking brings out natural sweetness without burning
- Adding sugar at the end lets you adjust for the natural sweetness of your apples
- The lemon juice brightens flavor and helps preserve color
- Minimal water keeps the apple flavor concentrated, not watery
- Simple ingredients let the apple flavor be the star
This isn’t a complicated recipe with hard-to-find ingredients or tricky techniques. It’s just good, honest cooking that produces consistently delicious results.
Frequently Asked Questions
Do I have to peel the apples?
You don’t have to, but Sarah recommends it for the smoothest texture. If you leave the peels on, they’ll add fiber and nutrients, but the sauce will have a slightly grainy texture and may be a bit bitter. If you choose to keep the skins, red apples will give you pink applesauce!
Can I use a slow cooker instead?
Absolutely! Place all ingredients (including sugar) in a slow cooker, cover, and cook on low for 6-8 hours or high for 3-4 hours. Mash or blend as desired. This is perfect for hands-off cooking.
Why is my applesauce watery?
This usually happens when you use too much liquid or apples with very high water content. Next time, use less water (start with ½ cup) and continue cooking uncovered for a few extra minutes to evaporate excess liquid.
Can I make this without sugar?
Yes! The natural sugars in apples are often enough, especially if you’re using sweet apple varieties. Simply taste at the end and add honey or maple syrup only if needed. Unsweetened applesauce is perfect for babies and toddlers.
How do I know when the apples are done cooking?
They should be completely soft and mashable with a fork. If you can easily pierce through chunks with no resistance and they’re starting to fall apart on their own, they’re ready.
Can I double or triple this recipe?
Definitely! Just use a larger pot and be aware that cooking time may increase by 5-10 minutes. Stir more frequently to prevent sticking at the bottom.
My applesauce is too sweet. Can I fix it?
Yes! Add more lemon juice, 1 tablespoon at a time, and a tiny pinch of salt. Both will balance the sweetness. You can also stir in some tart apples that have been cooked and mashed separately.
Can I add other fruits?
Absolutely! Pears, peaches, strawberries, and cranberries all work beautifully with apples. Add them during the cooking process. Try 75% apples and 25% other fruit for best results.
Final Thoughts
Making Sarah’s homemade applesauce has become one of my favorite fall traditions. There’s something deeply satisfying about transforming a big bag of apples into jars of delicious, preservative-free applesauce that my whole family loves.
What I appreciate most about this recipe is its simplicity and flexibility. You can make it exactly as written, or experiment with different apple combinations, sweeteners, and spices to create your own signature version. There’s really no wrong way to do it—it’s all about what tastes good to you!
The recipe has been passed down in Sarah’s family for generations, and now I’m passing it on to you. Whether you’re using apples from your own tree, a local orchard, or the grocery store, you’re going to love how easy and rewarding this is to make.
So grab a bag (or three!) of apples, clear some counter space, and get ready to fill your home with the most wonderful apple-cinnamon aroma. Once you taste that first spoonful of warm, homemade applesauce, you’ll understand why Sarah’s grandmother made this every single fall without fail.
Happy cooking, and welcome to the homemade applesauce club!
Yield: About 6 cups (12 servings)
Prep Time: 20 minutes
Cook Time: 25 minutes
Total Time: 45 minutes
Difficulty: Easy
Storage: 7-10 days refrigerated, 6 months froze
Homemade Applesauce
Ingredients
Equipment
Method
- Preheat oven to 400 °F (205 °C).
- Place the apple chunks in a 9×13-inch baking dish. Scatter the butter and brown sugar over the apples.
- Cover tightly with aluminum foil and bake for 45 to 50 minutes, tossing once halfway through, until apples are very tender.
- Remove foil and mash the apples with a potato masher or fork to your desired consistency. If the applesauce is too tart, add additional brown sugar little by little.
- Serve warm or chilled. Store in an airtight container in the refrigerator for up to 4 days, or freeze for up to 3 months.