
By Chef Hanna | Prep: 10 min | Cook: 20 min | Total: 30 min | Yield: 12 muffins
Table of Contents
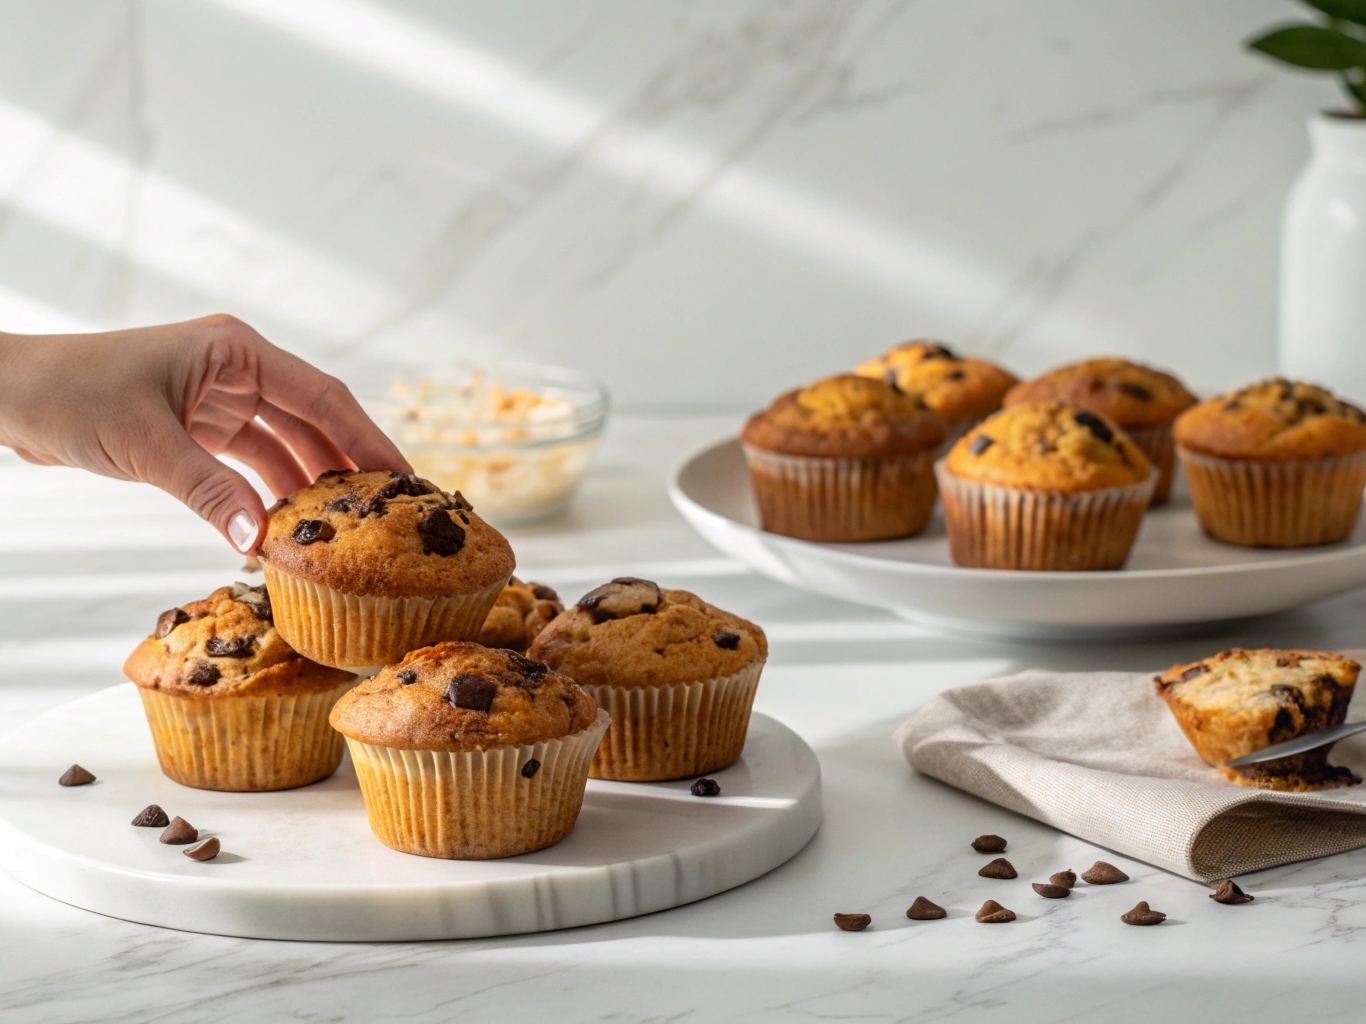
Stop Paying $4 for Bakery Muffins – Make Them at Home!
You know those gorgeous, sky-high chocolate chip muffins at your favorite bakery? The ones with the perfectly domed tops, crispy edges, and tender, fluffy centers? I’m about to let you in on a little secret: they’re surprisingly easy to make at home, and each muffin costs less than 50 cents!
As a busy parent myself, I understand the morning rush. Between packing lunches, finding matching socks, and getting everyone out the door, who has time for complicated baking? That’s exactly why I perfected this bakery-style chocolate chip muffins recipe – it takes just 30 minutes from start to finish, uses simple ingredients you probably already have, and delivers professional results every single time.
These aren’t your average flat, dense muffins. We’re talking about tall, fluffy, bakery-quality muffins with crispy, sugary tops and pockets of melted chocolate throughout. My kids literally cheer when they see these cooling on the counter, and they’re perfect for busy school mornings, weekend brunches, or after-school snacks.
The best part? You can make a double batch, freeze them, and have fresh-tasting muffins ready in minutes for up to three months. Trust me, this recipe is about to become your family’s new breakfast staple!
Why This Bakery-Style Muffin Recipe Works
Let me share the secrets that make these muffins truly special:
The High-Heat Trick: Starting at 425°F creates that iconic bakery-style dome top. The initial blast of heat causes rapid rising, then we lower the temperature to finish baking without burning. It’s the same technique professional bakeries use!
Perfect Texture Balance: Using oil instead of butter keeps these muffins incredibly moist and tender for days. The sour cream adds richness and that signature bakery crumb structure.
No Overmixing: Unlike other recipes that require precise folding techniques, this foolproof method is overmix-resistant. Just stir until the flour disappears – lumpy batter is actually perfect!
Chocolate Distribution: We use a special trick to keep chocolate chips evenly distributed instead of sinking to the bottom (I’ll share this below!).
Family-Friendly: No weird ingredients, no specialty equipment, and cleanup is minimal. One bowl, one whisk, one muffin pan – that’s it!
Ingredients You Need
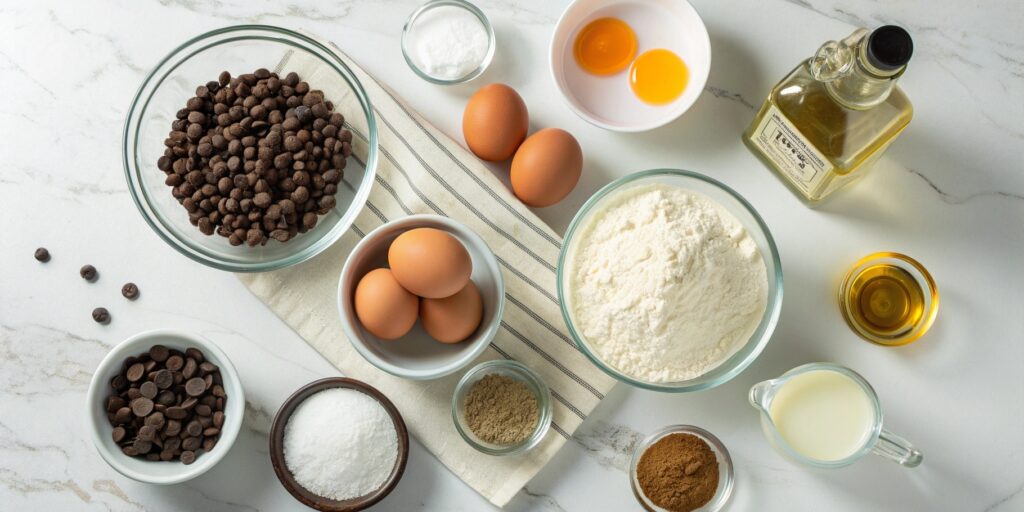
Dry Ingredients:
- 2 cups all-purpose flour
- 1 tablespoon baking powder
- ½ teaspoon baking soda
- ½ teaspoon salt
- ½ cup granulated sugar
- ¼ cup light brown sugar, packed
Wet Ingredients:
- 2 large eggs, room temperature
- ½ cup vegetable oil (or melted coconut oil)
- 1 cup sour cream (or plain Greek yogurt)
- 2 teaspoons vanilla extract
- ¼ cup milk (any kind works)
Mix-ins:
- 1½ cups chocolate chips (plus extra for topping)
- 2 tablespoons coarse sugar (optional, for sparkly tops)
Ingredient Notes for Busy Families:
Out of sour cream? Greek yogurt works perfectly and actually adds protein! Regular yogurt works too, though the texture will be slightly less rich.
Don’t have brown sugar? Use all white sugar – you’ll still get delicious muffins, just slightly less caramel-like flavor.
Oil choices: Vegetable, canola, or melted coconut oil all work beautifully. I avoid olive oil as the flavor can be too strong.
Chocolate chips: Semi-sweet is classic, but milk chocolate, dark chocolate, or even mini chips work great. My kids love when I throw in a handful of white chocolate chips too!
Step-by-Step Instructions
Step 1: Prep Your Oven and Pan (2 minutes)
Preheat your oven to 425°F – yes, really! This high temperature is crucial for those tall, bakery-style tops. Line a 12-cup muffin pan with paper liners or spray generously with non-stick spray. I prefer liners for easy cleanup on busy mornings.
Pro tip: Fill any empty muffin cups halfway with water. This helps the muffins bake evenly and prevents the pan from warping.
Step 2: Mix the Dry Ingredients (2 minutes)
In a large mixing bowl, whisk together flour, baking powder, baking soda, salt, and both sugars. Make sure there are no lumps in the brown sugar – I use my fingers to break them up. This takes just a minute and ensures even distribution.
Time-saving tip: You can pre-mix the dry ingredients the night before and store in an airtight container. In the morning, just add wet ingredients!
Step 3: Combine Wet Ingredients (3 minutes)
In a medium bowl or large measuring cup, whisk together eggs, oil, sour cream, vanilla, and milk until smooth and well combined. The mixture should look creamy and uniform.
Room temperature matters: If your eggs and sour cream are cold from the fridge, the batter might look slightly curdled – that’s okay! It’ll all come together once mixed with the dry ingredients.
Step 4: The Secret to Fluffy Muffins (3 minutes)
Here’s where the magic happens! Pour the wet ingredients into the dry ingredients. Using a wooden spoon or spatula, gently stir until JUST combined. You should still see small lumps – this is perfect! Overmixing develops gluten, which leads to tough, dense muffins instead of fluffy bakery-style ones.
The fold, don’t stir method: I use a folding motion, scraping from the bottom and folding over the top, rotating the bowl as I go. Stop as soon as you don’t see dry flour anymore.
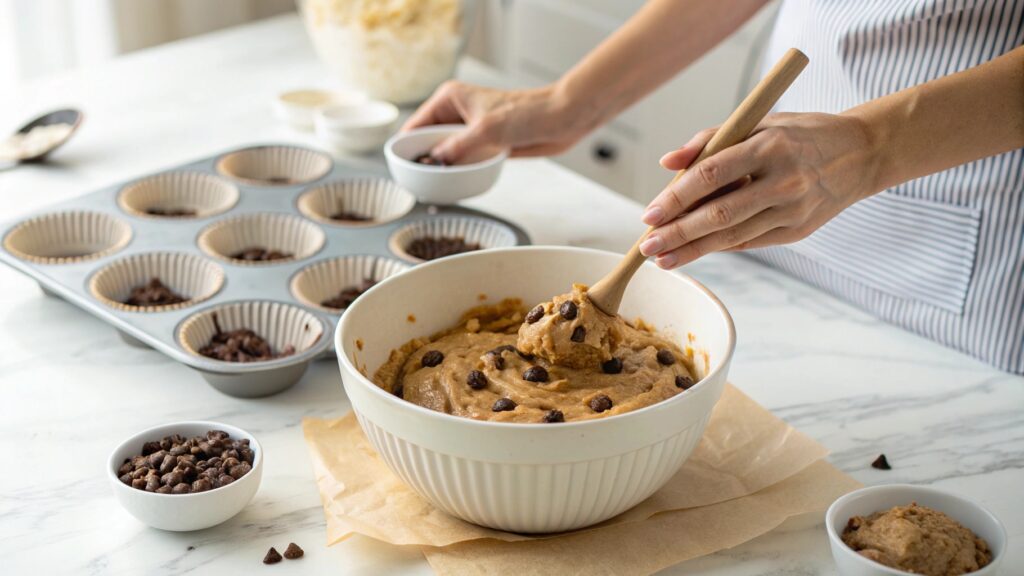
Step 5: Chocolate Chip Magic Trick
Reserve about ¼ cup of chocolate chips. Toss the remaining chips with 1 tablespoon of flour (shake it around in a small bowl). This flour coating prevents the chips from sinking! Gently fold the floured chips into your batter with just 2-3 strokes.
Step 6: Fill Those Muffin Cups
This is important for bakery-style height: fill each muffin cup all the way to the top – or even slightly mounded! I use a large cookie scoop (about ¼ cup) for perfectly uniform muffins. Press a few extra chocolate chips on top of each muffin and sprinkle with coarse sugar if using.
Why fill to the top? Bakery muffins are jumbo-sized because they fill the cups completely. Don’t be shy here!
Step 7: The Temperature Trick
Place the muffin pan in your preheated 425°F oven. Set a timer for 5 minutes. After 5 minutes, WITHOUT opening the oven door, reduce the temperature to 375°F. Continue baking for 13-15 more minutes.
How to tell they’re done: The tops should be golden brown and spring back when gently touched. A toothpick inserted in the center should come out clean or with just a few moist crumbs (not wet batter).
Total baking time: 18-20 minutes
Step 8: The Patience Game
Let muffins cool in the pan for 5 minutes – this is crucial! If you remove them too soon, they might fall apart. After 5 minutes, transfer to a wire rack. Try to wait at least 10 minutes before eating (I know, it’s hard!). The muffins are still setting during this time.
Pro Tips for Perfect Muffins Every Time
Use an oven thermometer: I discovered my oven runs 25°F cooler than the dial shows! An inexpensive thermometer ensures accurate temperature for that perfect rise.
Don’t open the oven: Opening the door releases heat and can cause muffins to deflate. Trust the process and keep that door closed!
Measure flour correctly: Spoon flour into your measuring cup and level with a knife. Don’t scoop directly from the bag or pack it down – this adds too much flour and creates dense muffins.
Test one muffin: If you’re unsure about baking time, remove one muffin at 18 minutes and test it. Every oven is different!
The toothpick test: Insert a toothpick in the center. It should come out with a few moist crumbs but no wet batter. If it’s completely clean, you might have slightly overbaked.
Storage & Make-Ahead Instructions for Busy Families
Room Temperature:
Store in an airtight container for up to 3 days. I love using a large plastic container with a tight-fitting lid – it keeps the muffin tops from getting squished!
Freshness tip: Place a slice of bread in the container with the muffins. It keeps them moist and fresh longer!
Refrigerator:
Honestly, I don’t recommend refrigerating muffins as it can dry them out. But if you must, store in an airtight container for up to 1 week. Microwave for 15-20 seconds before eating to restore moisture.
Freezer (My Secret Weapon!):
This is where the magic happens for busy families:
- Let muffins cool completely
- Wrap each muffin individually in plastic wrap, then place in a large freezer bag
- Label with date and freeze for up to 3 months
- To thaw: Remove from freezer the night before, or microwave for 30-45 seconds
- For that fresh-baked taste, pop thawed muffins in a 300°F oven for 5 minutes
Sunday prep strategy: I make a triple batch every few Sundays and freeze them. My kids can grab one for breakfast, pop it in the microwave for 30 seconds, and they have a hot, delicious breakfast in under a minute!
Make-Ahead Batter:
You can actually prep the batter the night before! Mix wet and dry ingredients separately, cover both bowls, and refrigerate. In the morning, combine them (add an extra minute to baking time for cold batter). Fresh muffins in 20 minutes on a busy school morning!
Variations Kids Love
Double Chocolate: Replace ½ cup flour with cocoa powder and use chocolate chips
Banana Chocolate Chip: Mash 1 ripe banana and reduce sour cream to ¾ cup
Berry Blast: Swap chocolate chips for 1 cup fresh or frozen blueberries
Peanut Butter Swirl: Drop ½ teaspoon peanut butter on each muffin and swirl with a toothpick
Cinnamon Sugar: Mix 2 tablespoons cinnamon with ¼ cup sugar, sprinkle on top before baking
Add-ins for picky eaters: Sneak in ½ cup finely grated zucchini or carrot – they’ll never know!
Frequently Asked Questions
Why are my muffins flat instead of tall and fluffy? This usually comes down to three things: old baking powder (check the expiration date!), overmixing the batter, or your oven temperature is too low. The high initial heat (425°F) is crucial for that dramatic rise!
Can I use paper liners or should I grease the pan? Either works! Paper liners make cleanup easier (essential for busy mornings), but greasing gives you slightly crispier edges. I use liners 90% of the time because I can just toss them when done.
My chocolate chips always sink to the bottom – help! Use the flour-tossing trick I mentioned! Coat your chips in a tablespoon of flour before folding into batter. Also, make sure your batter isn’t too thin, and fill the cups all the way to the top.
Can I make these muffins dairy-free? Absolutely! Use dairy-free milk, coconut oil instead of butter, and replace sour cream with coconut cream yogurt or dairy-free yogurt. They’re just as delicious!
How do I reheat frozen muffins quickly? Microwave for 30-45 seconds (depending on your microwave power). For that fresh-baked taste, wrap in a damp paper towel before microwaving – it adds moisture!
Why Busy Families Love This Recipe
Let me tell you why this has become our go-to breakfast solution:
Budget-Friendly: At roughly $0.45 per muffin versus $3-4 at a bakery, you save over $30 every time you make a batch! That’s groceries money back in your pocket.
Time-Efficient: From deciding to make muffins to pulling them from the oven: 30 minutes. That’s faster than a bakery run when you factor in driving, parking, and waiting in line.
Freezer-Friendly: Make once, eat for months. Every Sunday, I batch-bake and freeze. My kids have grab-and-go breakfast for weeks!
Picky-Eater Approved: I’ve tested these on dozens of kids (including my own very picky 7-year-old). They always get enthusiastic thumbs up!
Allergy-Adaptable: Easy to make nut-free, dairy-free, or even egg-free with simple substitutions.
Lunchbox-Ready: These muffins hold up beautifully in lunchboxes and don’t crumble into a million pieces like some recipes.
Bake Sale Hero: Need something impressive for school fundraisers? These look professional and sell fast!
The Bottom Line
After years of testing muffin recipes and throwing away countless flat, dense failures, I can confidently say this is THE recipe for bakery-style chocolate chip muffins. The tall, fluffy texture, crispy sugary tops, and tender crumb rival anything you’d pay premium prices for at a cafe.
For busy families, this recipe checks all the boxes: quick to make, uses pantry staples, kid-approved, freezer-friendly, and budget-conscious. Whether you’re meal-prepping for the week ahead or need a quick breakfast solution for tomorrow morning, these muffins deliver every single time.
My challenge to you: make these muffins this weekend. Freeze half. Next week, when you’re running late and breakfast seems impossible, grab a frozen muffin, microwave for 30 seconds, and watch your kids’ faces light up. You’ll thank yourself for the prep work!
Have you tried this recipe? I’d love to hear how it turned out! Drop a comment below with your results, and don’t forget to rate the recipe. If you’re posting on Instagram, tag me so I can see your beautiful bakery-style muffins!
Happy baking, and remember: life’s too short for flat muffins!
– Chef Hanna
Prep Time: 10 minutes
Cook Time: 20 minutes
Total Time: 30 minutes
Yield: 12 jumbo muffins
Category: Breakfast, Snack, Brunch
Method: Baking
Cuisine: American
Diet: Vegetarian